Wednesday, June 17, 2015
Sarah the designer
But firstly, I'm a graphic designer? Most people don't know me as a designer. During my school years (which was at the York U/ Sheridan C joint program for the Bachelor of Design) I did lots and lots of baking, so a lot of people know me as Sarah the Baker Yoon - a professional one. I've catered a couple of weddings and events here and there, so that image stuck. I still occasionally get asked how my bakery is doing. Little do they know I'm actually designer by day and baker by occasional weekend!
I've had a pretty direct route to becoming a designer - the education for graphic design is quite practical with a straight-forward destination: graphic design. Other than becoming an instructor or design critic, studying design sort of (basically) means you want to be a designer. So that's what I did.
I graduated in 2009 when the economy was struggling and jobs were hard to find. So as soon as I graduated, I went straight to work. I resisted the temptation to travel and explore the world before I enter the workforce—as many of my peers did. And luckily, I found a design graduate's dream job. A reputable and highly-creative design agency in the downtown fashion district with exposed brick contrasted with pristine white walls. I worked super hard, knowing that whatever hours I put in (even the long, unpaid ones) meant I was growing and helping myself make a place in the industry.
But as much as I was developing rapidly as a designer, I realized I was starting to lose sight of why I was doing it in the first place. The work was interesting but I started to lose interest. I was tired and confused - I thought I would feel more purpose to what I was doing. So like most green, confused youngsters do, I went through an identity crisis. I suddenly felt like I wasn't living the life I was supposed to: what was the meaning of all this? In my naivety, I claimed that everyone was living a fake, meaningless life. I was overwhelmed and defeated. But in her wisdom, my mom suggested I start step by step. I could start by dedicating a few hours each week to what I had a heart for. She told me to do some research into different paths I was interested in. And since I had the support of my parents, I was free to do my searching now. I quit my design job and spent my days volunteering - I helped out at schools and at a downtown inner city program for youth. And then I decided to apply for teacher's college.
I decided that becoming a teacher would be meaningful - dedicating my life to developing and teaching children of the future generation. I would get to work with children and make a difference in the world! My first step was to get into teacher's college, and there lied a big problem. I had a Bachelor of Design, which for some reason was not admissible as a foundation for teacher's college. It could be anything else, Fine Arts degree, or just an Arts degree, but not Design! All the Ontario schools said I didn't qualify, save one school - University of Ottawa. I crossed my fingers and applied – I had to wait a few months until I found out. In the meantime, I decided to find a temporary design job to keep myself busy while I waited. Through a friend, I heard about an up-and-coming innovation firm and after a brief interview, I got the job! I started to enjoy working as a designer at an agency again. A few months later, I finally received a letter from the University, "Due to not enough applicants this year, we have canceled this year's program." And just like that, the door to teaching was closed. But I wasn't disappointed at all, I realized it was providence. Through a series of events, I was able to explore what "meaningful" work actually meant and I came to realized I have grown up a little bit.
Sure, the new job was fun and exciting: I got to work with interesting people and do innovative work. And I realized I had a talent for graphic design. But that wasn't the reason why I felt okay with going back to the industry. I learned that wherever I was, whatever I did, it wasn't the job that defined me, it's I who defined the job. It wasn't the work that was supposed to make me feel valued or give me meaning. I had something greater that gave me value in my life - and design could simply be a passion for me. As I took the expectation of 'life-fulfillment' off of my career, I was able to enjoy it for what it was. That sense of freedom and enjoyment for what I did added great value to whatever I did at work and I knew people could see that around me too.
So that's how I began my journey as a graphic designer. It's been already 6 years since I've been one! It took some growing up to appreciate where I am and I'm glad I got to gain perspective through it all. I'm still young in the industry, and I only hope to mature more and more as the years go by.
Hey, also – if you'd like, you can check out the rest of my portfolio at sarahchung.ca. Enjoy!
Wednesday, April 15, 2015
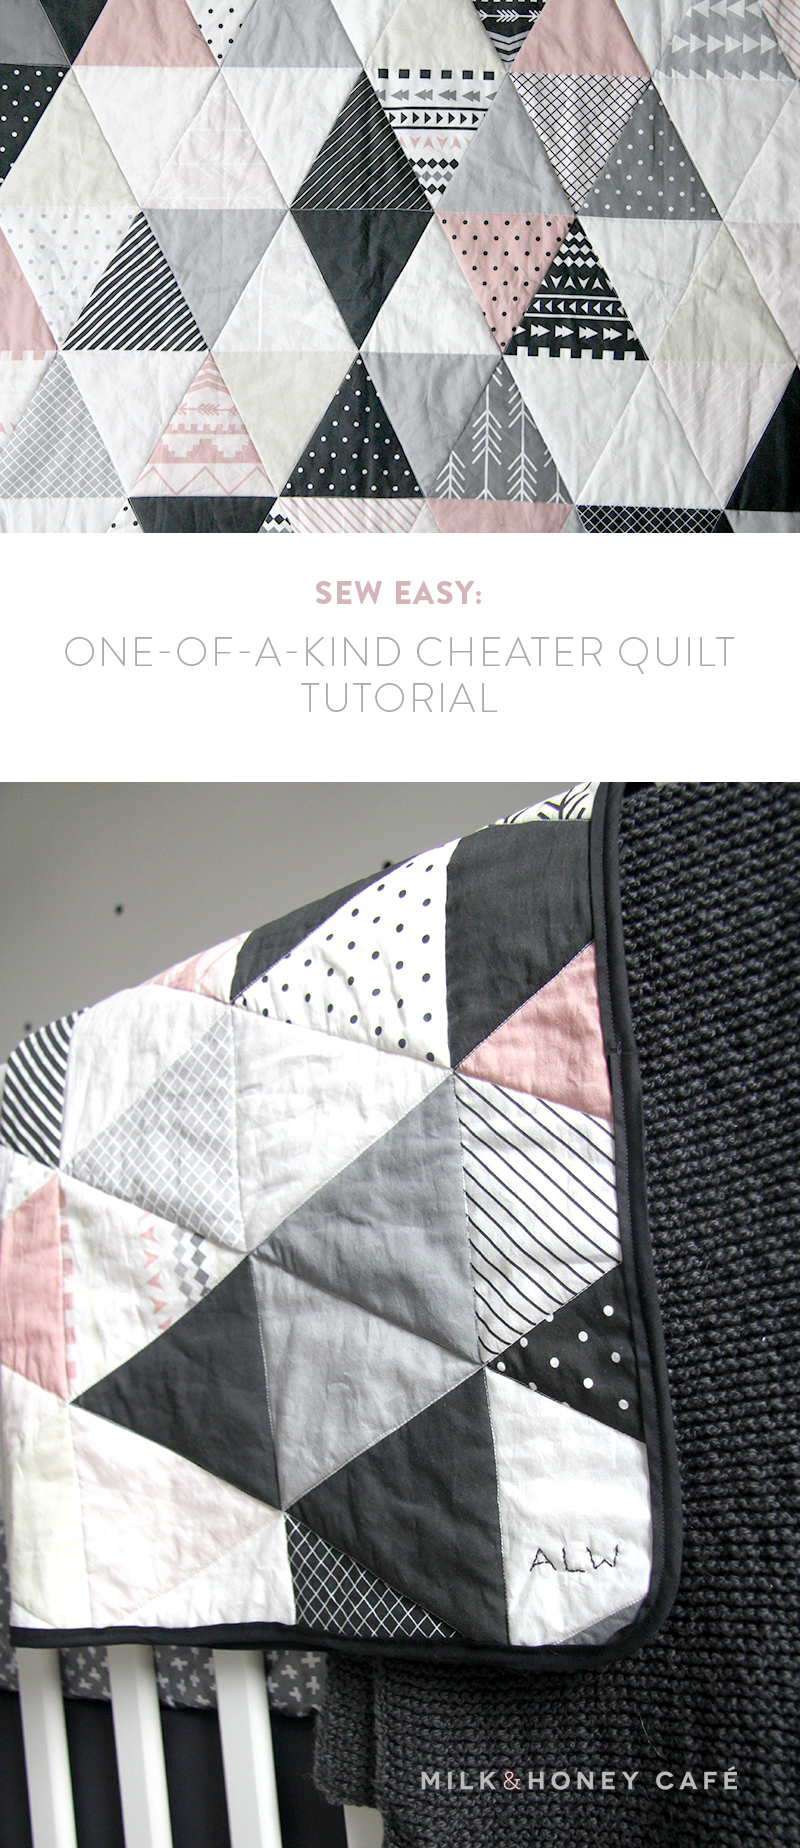
sew easy: one-of-a-kind cheater quilt
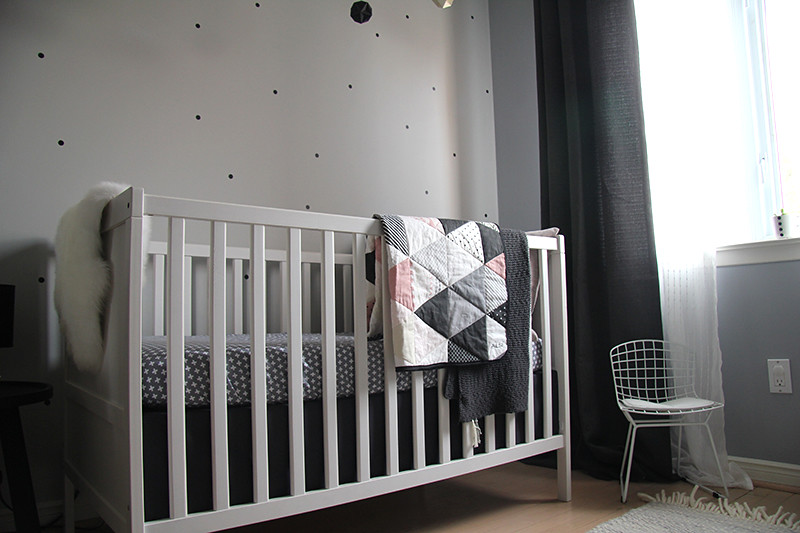
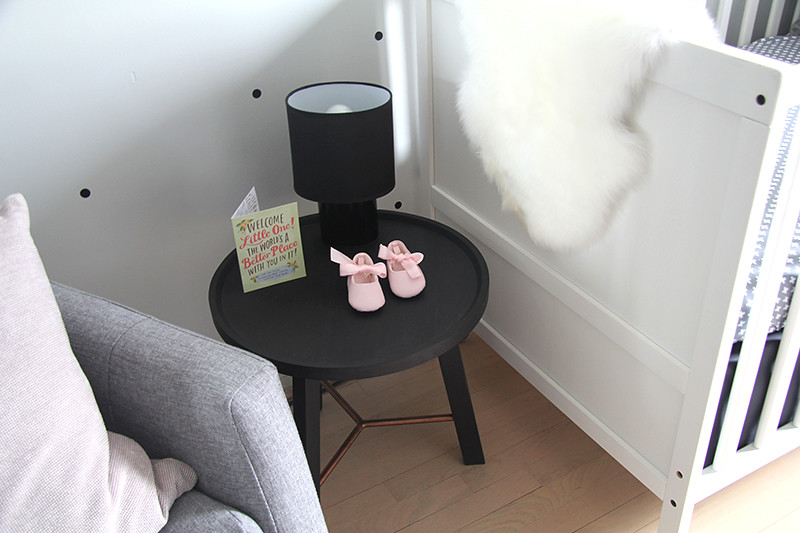
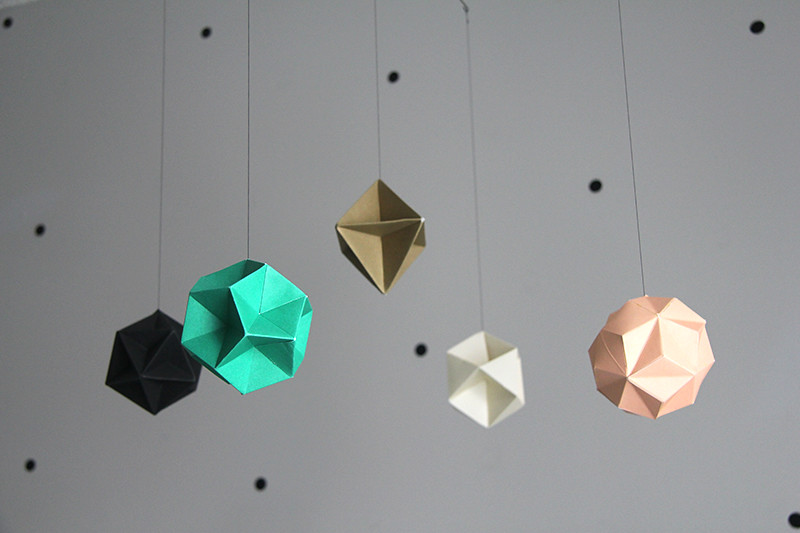
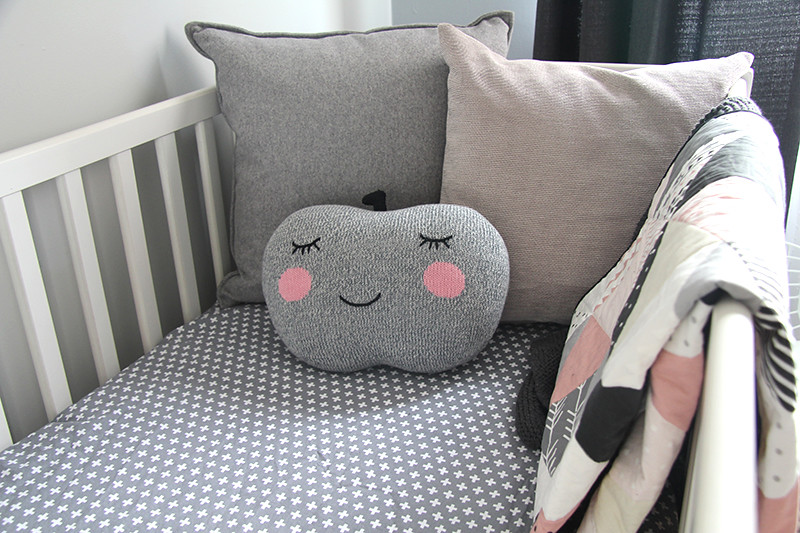
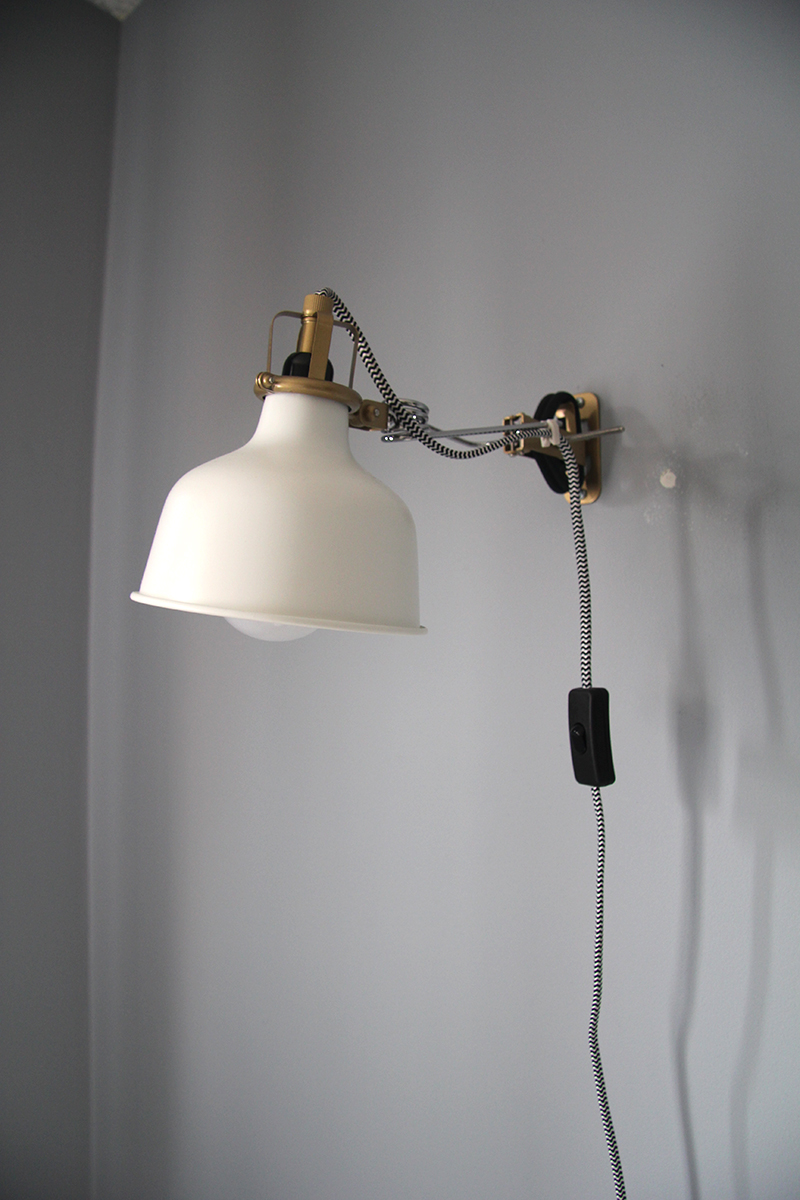
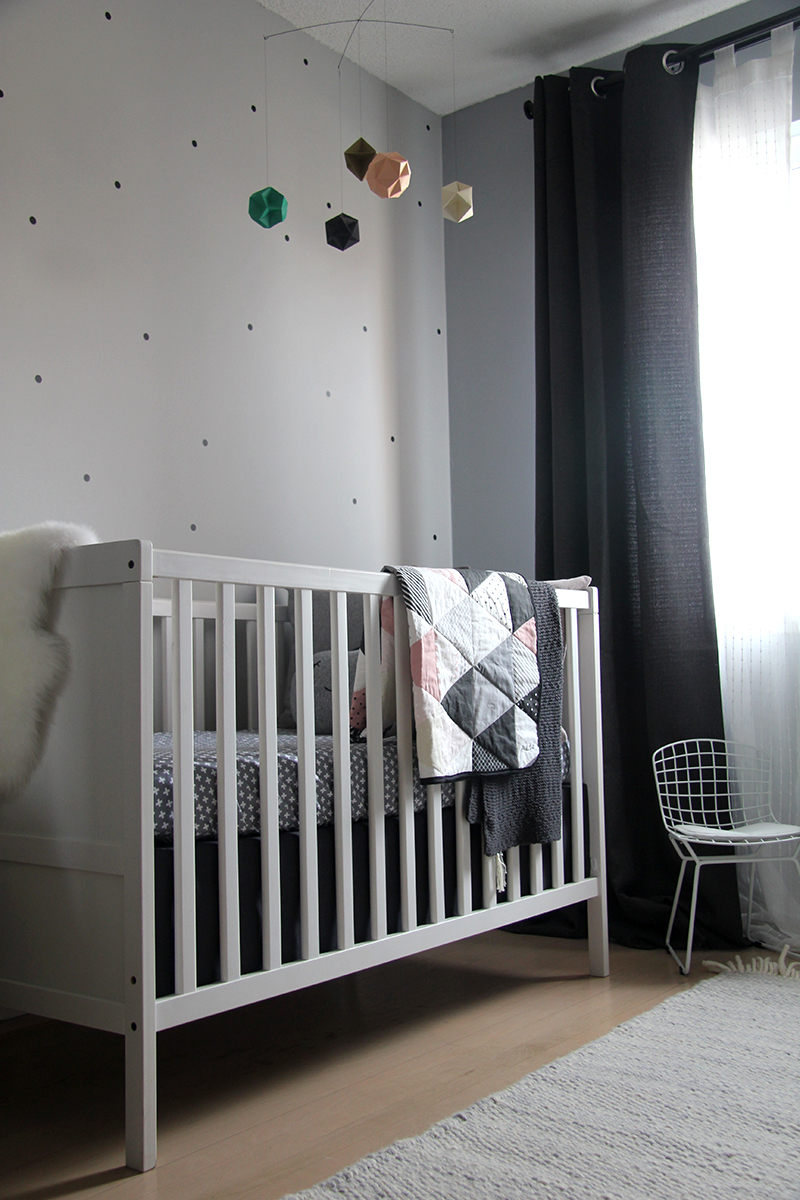
I am so excited to share a special nursery with you. It belongs to a very lucky baby girl who I know will be one of the coolest kids on the block. Her parents are an über talented pair - stunning designer mom and engineer-by-day, DJ-by-night dad. The two definitely live with style. So when I walked into her nursery, I wasn't surprised to see how beautiful it was. I wanted to live in this room! There are lots of little details that only an interior designer mom would take care of and even if it's not 100% completed yet, it looks straight out of a pinterest board named "dream nursery inspiration". I know their baby girl is going to have sweet sweet dreams in her little crib.
Her parents are special friends to us - they've shown so much love and care for my own little Heidi. I've always been so grateful for how much they've adored her, playing with her and caring for her, and even putting her to sleep a couple of times (and that is no easy feat!). I was soooo happy to hear that they were expecting – surely the two girls are going to be great friends! And so when it was time to prepare a gift for the baby girl, I knew I wanted to give her something extra special. I wanted to hand-make something to keep it personal and one-of-a-kind, but also make it practical while fitting the cool decor of the room. Then, I remembered a crib-sized quilt project I pinned a while ago – a pretty triangle quilt. It claimed that it would only take an hour - even with no experience in quilting!
How do you make a quilt in an hour? By the magic of an amazing website called Spoonflower. If you haven't heard of Spoonflower before, you are in for a treat. It's a genius idea - you can upload any design and they would print it on a variety of fabrics for you. I think that's a million-dollar idea, don't you? It's a game-changer for the sewing world, that's for sure. I think there are an endless amount of things you can do if you're able to design your own fabric!
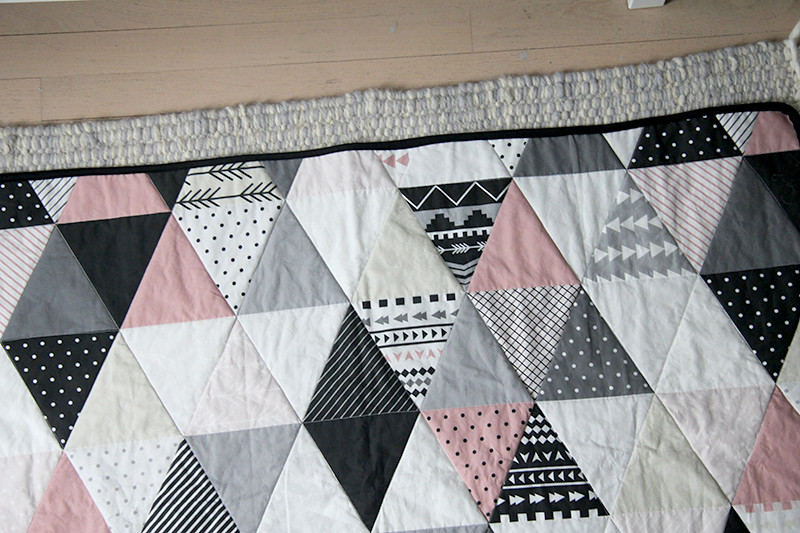
And so with the help of this wonderful company, I was able to design my very own quilt pattern with triangles. I took mental notes on the design theme of the nursery when I came for a visit and used it to design the fabric. "B&W cool with a touch of baby girl" was what I was going for! I used Adobe Illustrator to make the full-quilt sized design and uploaded it to their website. I have to say, their prices are quite reasonable for what they're offering and the quality is really great. The customer service is awesome too - I wasn't sure which fabric to pick for quilt and they responded with great choices and inspiration to go along with it. I chose the basic combed cotton, but you can try their Organic Cotton Knit, Satin, or even their Minky fabric. The other great thing about this website is that you can also chose designs from a library of other people's designs. There a ton of beautiful fabric designs and even other "cheater quilt" patterns as well.
Once the fabric comes in the mail, you're already halfway there. All it really takes is trimming, basting and sewing in straight lines. You'll also have to add a bias tape around the quilt. What I love most about this project is that it's a unique and thoughtful gift, but easy enough for beginners like me. And I know that there's only one like this one, just like their baby girl!
INSTRUCTIONS
You'll need:
• 1.5 yards triangle-design fabric (I used basic combed cotton from spoonflower)
• 1.5 yards backing material, quilting weight
• batting (I used baby crib sized quilt cotton batting)
• 2 packages 1/2″ double fold bias tape
• thread
1. Line up batting between the two fabric and trim to the size of batting. Try to line up the triangle fabric so that the edges of the triangles sits centred.
2. Pin the three pieces so that it doesn't move. You can use safety pins or even spray baste in a cinch.
3. Sew along the lines of the triangles. Finish one direction at a time. (Like this: \ / —)
4. Sew your bias tape along the edges of your quilt.
And you're done! Add any finishing touches you'd like. I decided to embroider the baby's initials. It was actually the first time I've ever done embroidery so I followed instructions from the internet and kept it super simple. It's still cute though, right?
My friend is actually due this week, so here's a little message for you: I'm so so excited for you and cannot wait to meet your little girl! It's gonna be scary and crazy but it'll be all worth it once you hold her in your arms. I hope you make countless beautiful memories together in your beautiful nursery.
Friday, February 20, 2015
quick! easy! delicious! banana bread!
I never quite understood why all those "30 meals under 30 minutes!" or "Quick, Fast, Instant, Speedy Cooking" or "10,000 one-bowl meals!" cookbooks sold so well. I knew that time is of the essence when it came to managing the family, but I thought it was kind of overboard when I saw the plethora of these cookbooks. That is, until... I became a mom! O how I underestimated the value of a quick and easy recipe. Motherhood is a series of juggling acts and I realized I'm constantly trying to simplify things when I can. And so when I was in the midst of amusing an energetic 9 month old baby and eating a quick lunch off the counter yet still wanted to do something about those overripe bananas, I looked for the simplest one bowl banana bread recipe I could find. The name of this recipe also happened to be "The Best Ever Banana Bread", so it was an easy sell.
I liked this recipe because it asked for simple ingredients that I knew I had in my kitchen. It didn't require milk (which I rarely have in the house) or buttermilk (which I always end up throwing out) or room temperature butter and eggs (which I always forget to take out ahead of time). I'm pretty sure you would have all of the ingredients in your pantry right now too. I know banana breads or any quick bread is usually very easy to make, but this one couldn't be any simpler. And it took me just 10 minutes to whip it up. To be honest, if it wasn't for me having to entertain Heidi as she sat in the highchair beside me, I probably could have made it in about 5.
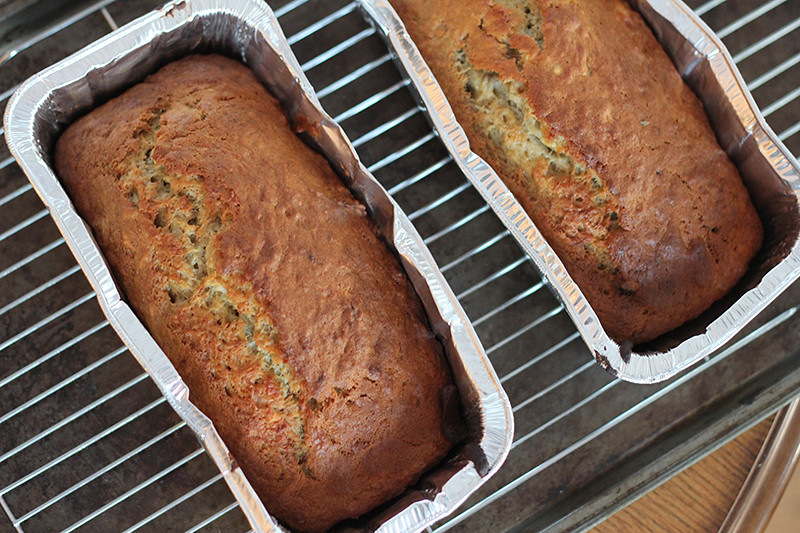
It turned out just like how good ol' banana bread should. Super moist, very banana-y, and a perfect amount of density. I know it's gonna be even better when I let it sit overnight. It's definitely my favourite banana bread recipe now! So here it is – a super simple and scrumptious banana bread that you can make if you can spare 5 minutes of your time. I know I'm going to be making it again.
Mom's speedy banana bread
recipe from Domestic Superhero
makes one 4x8 inch loaf pan or two small loaf pans or 12 muffins
ingredients
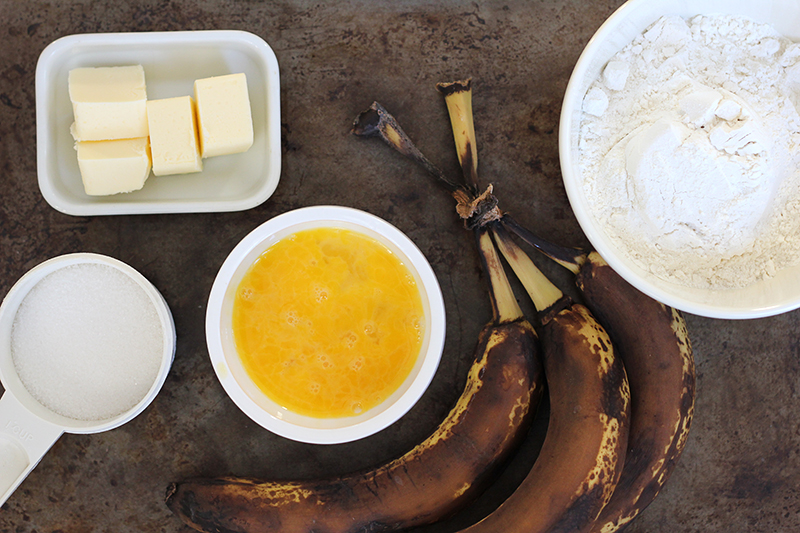
3 or 4 ripe bananas
1/3 cup butter, melted
3/4 cup sugar
1 egg, beaten
1 tsp vanilla extract
1 tsp baking soda
Pinch of salt
1 1/2 cups flour
1/2 cup chopped nuts or chocolate chips (optional)
directions
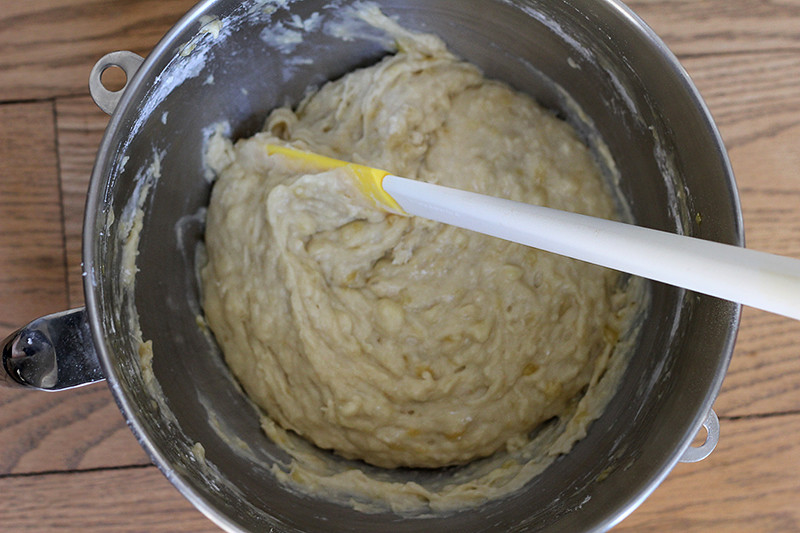
1. Preheat oven to 350F. In a large bowl, mash the bananas, then add the melted butter and mix until combined. Mix the sugar, egg and vanilla extract until combined well. Add baking soda and salt to batter. Finally, slowly add the flour until just combined - don't overmix. You can add the nuts or chocolate chips here.
2. Grease your loaf pans or muffin tins and pour in the batter. Bake for 1 hour for a large loaf (4x8 pan), 45 minutes for smaller loaves, or 22-25 minutes for the muffins. Check if it's done with a toothpick (no crumbs!)
3. Let it cool on a rack and enjoy!
Wednesday, February 11, 2015
Wednesday, January 28, 2015
Sew Easy: Pretty Bow HeadBand
I've done it. I've jumped on the mom-bandwagon and started to sew. I dusted off my old sewing machine and started to make things for the baby. Yes, Pinterest and this whole DIY-movement has launched me into this "mom-on-mat-leave" stereotype, but it just made practical sense! I could make things just the way I wanted it, at a fraction of the price. It started when I couldn't find a nursing cover I liked because of the unappealing fabric choices and the ridiculous price it asked for. And then I wanted to make the same headbands I bought for Heidi at the Gap for $10 a piece. From then on it was just a whirlwind of little projects I could think of, late at night while Heidi was asleep. I am no where near an expert sewer but I've been sewing here and there since Jr. High (I promised my mom I'd put good use to a sewing machine if she bought me one – I kept the promise!). And so, I want to share these little sewing discoveries with you. I am still learning myself and you could probably find a ton of blogs that teach you better than I could, but I thought it'd be fun to share my projects with you and maybe show you a few things I've learned along the way. (I'm new at this tutorial thing, so please bear with me!)
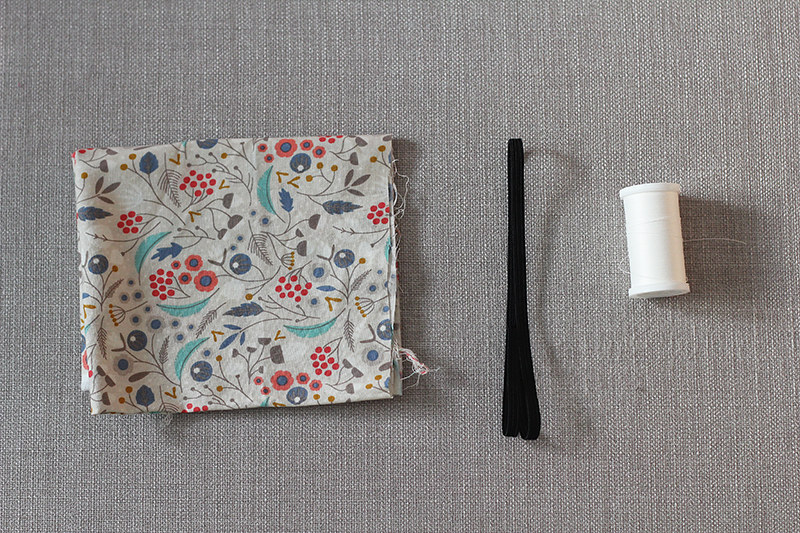
Materials:
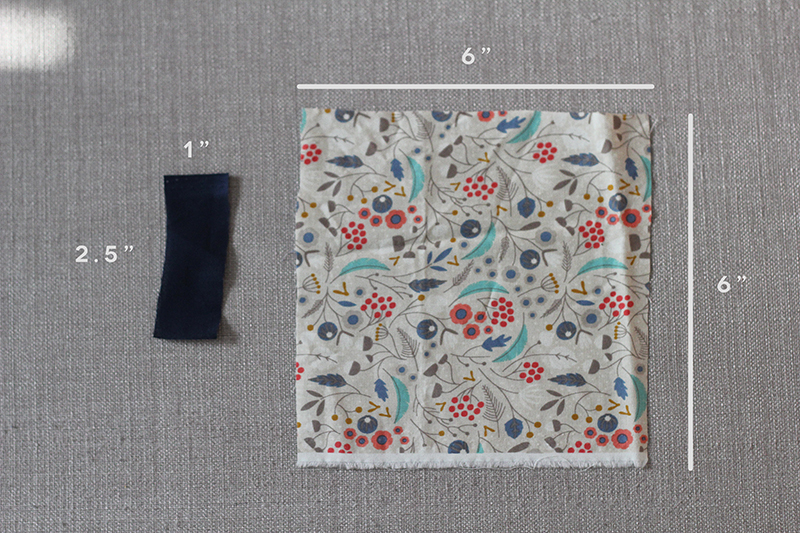
- 2 pieces of fabric for the bow (sizes are below)
- Elastic (the length of your baby's head circumference)
- Thread
You'll need two pieces of fabric: one for the main bow and the second for the middle piece. The size of the final bow would basically be a quarter of the piece of fabric you cut. So here, I cut a 6"x 6" piece that would ultimately make a 3"-wide bow.
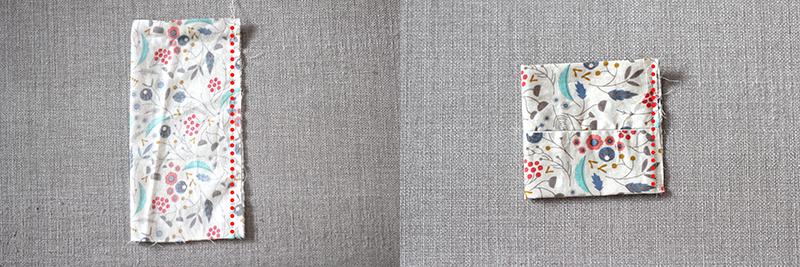
1. Fold the piece of fabric in half, with the right sides facing each other (so that you see the wrong side). Then sew along the edge. Flip it inside out.
2. Fold that piece in half again, so that the seam is outside (the clean side is in). Sew along the edge. Flip it inside out.
1. Take your small piece and fold it in half length-wise. You're gonna sew it in an L-shape so that you get a closed pipe.
2. Flip it inside out. Then sew it shut. This part is kind of tricky since it's a small piece of fabric but with patience, you'll get it through!
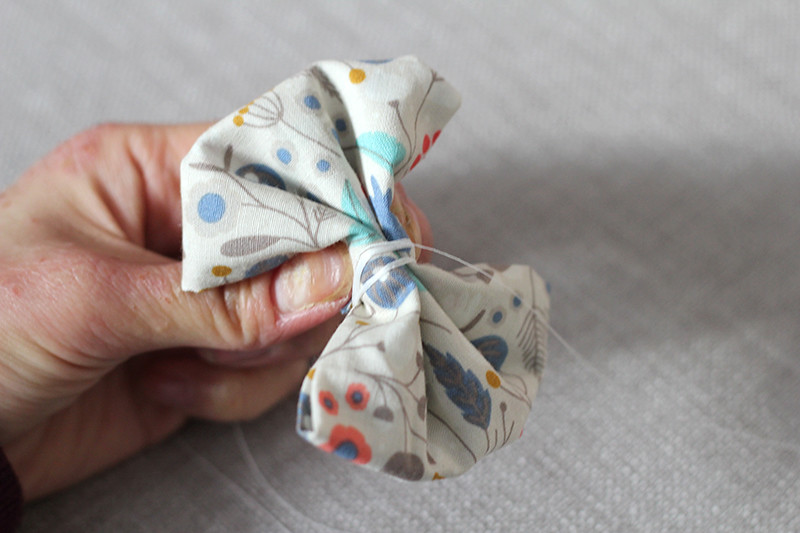
Take your bow piece with the non-seam side facing up and hold it so that the closed sides are on the left and right, open sides on the top and bottom. Do an accordian fold. It's basically like when you fold a paper fan. I like having the edges on the top and bottom folded so that you don't see the edges. Now take some string and tie it tightly around the middle. I loop around it quite a bit so that it stays nice and tight.
Knot it a few times so that it doesn't unravel.
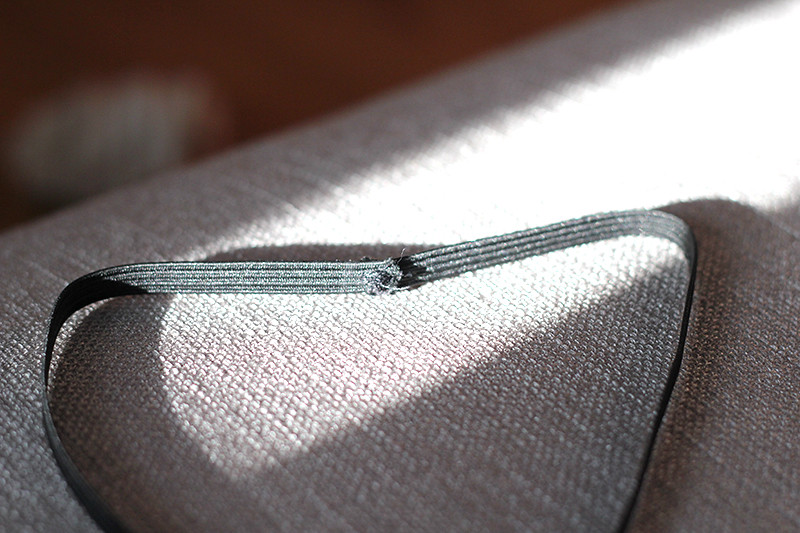
Now sew the elastic piece into a loop. Make sure you use the zig-zag option so that the elastic doesn't come apart.
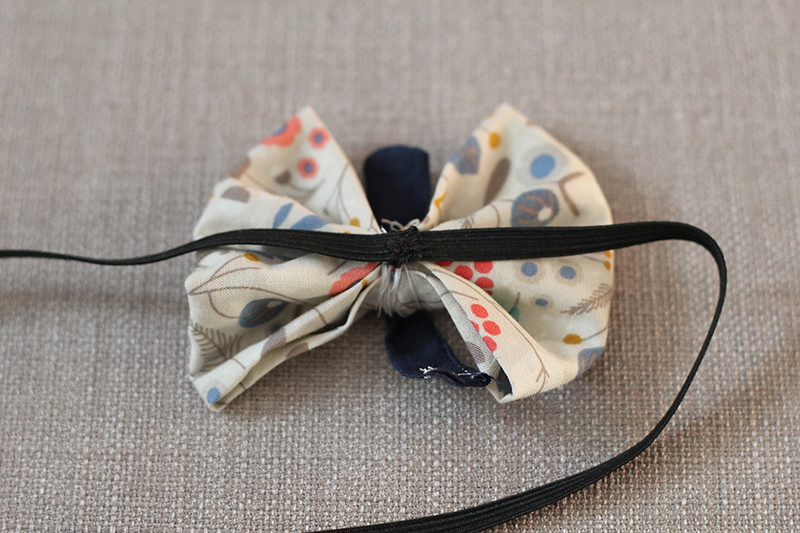
Place all three pieces together so that the small piece wraps around the bow and elastic. Make sure the neat end of the small piece stays on top.
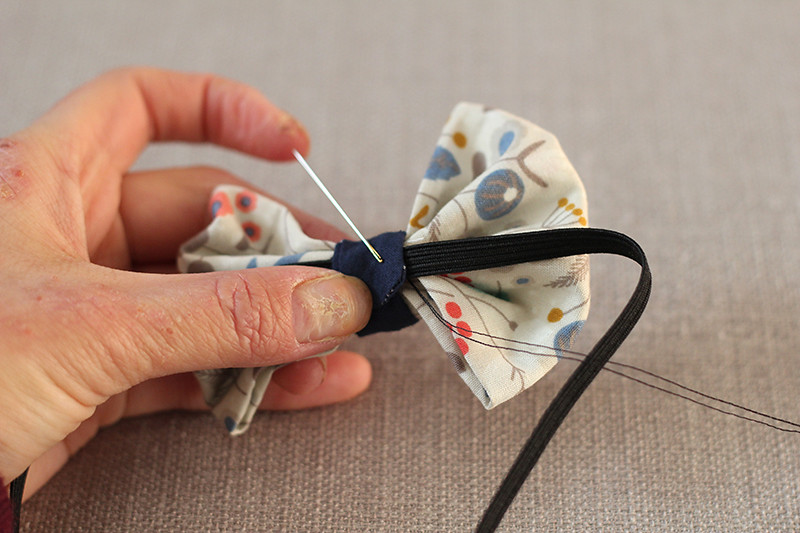
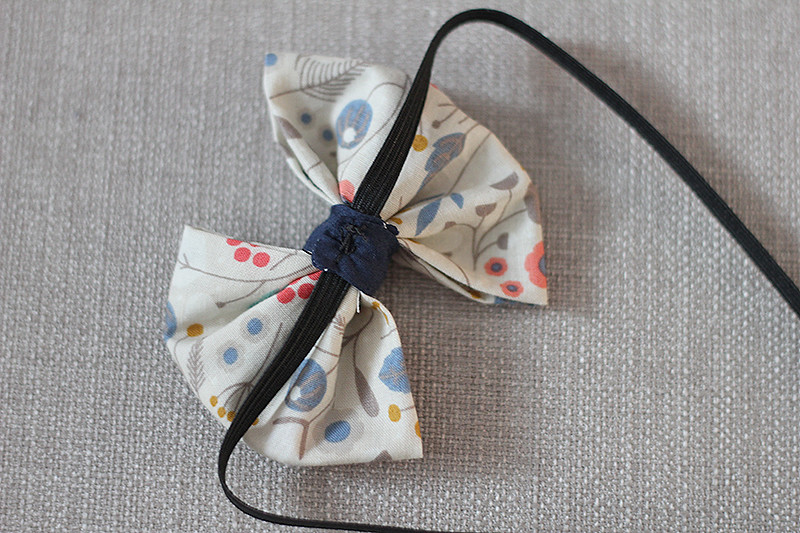
Get a needle and thread and sew it all together. This is probably the hardest part since you have to hold the pieces tightly together and you have to make sure the thread goes in all the layers. I find it much easier when you take it slow and sew one direction at a time. For instance, I would take the needle from the inside, poke through all three pieces and come up. Then I'll take the needle back inside, again going through all three pieces. I repeat this until I feel like it's on securely.
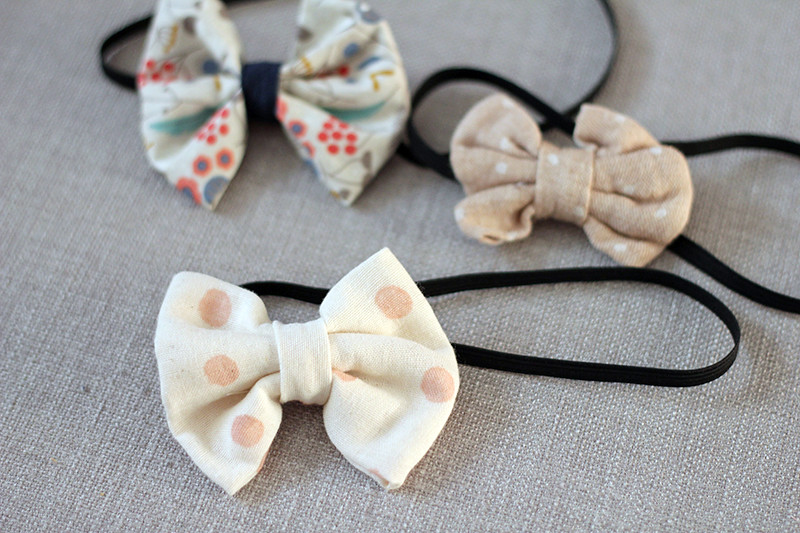
Voila - it's all done!
Once you start making these, you're not gonna stop! You can make a bow for every outfit.