
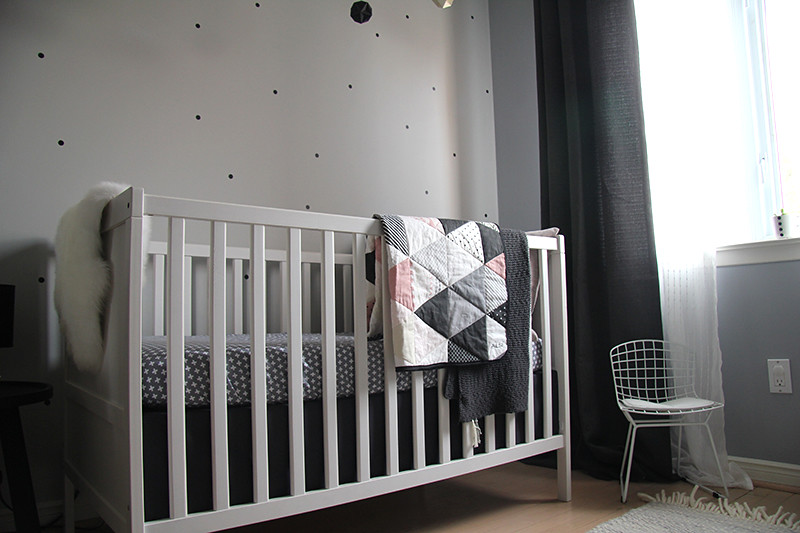
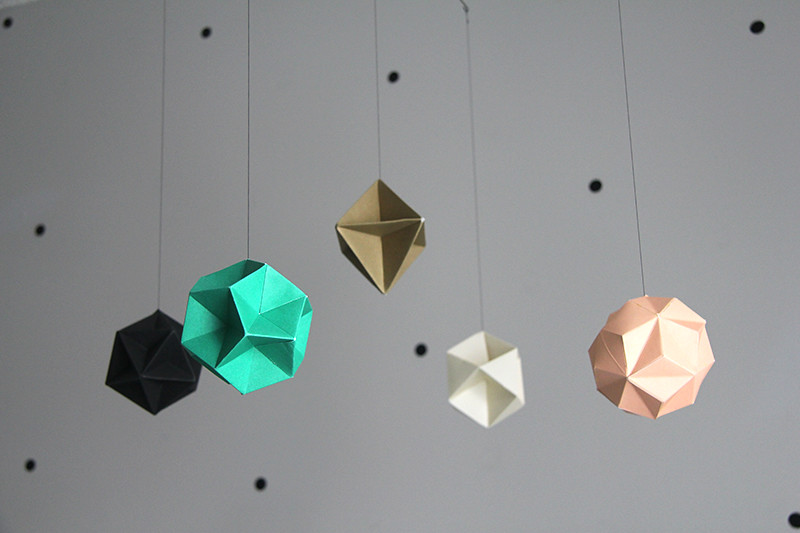
I am so excited to share a special nursery with you. It belongs to a very lucky baby girl who I know will be one of the coolest kids on the block. Her parents are an über talented pair - stunning designer mom and engineer-by-day, DJ-by-night dad. The two definitely live with style. So when I walked into her nursery, I wasn't surprised to see how beautiful it was. I wanted to live in this room! There are lots of little details that only an interior designer mom would take care of and even if it's not 100% completed yet, it looks straight out of a pinterest board named "dream nursery inspiration". I know their baby girl is going to have sweet sweet dreams in her little crib.
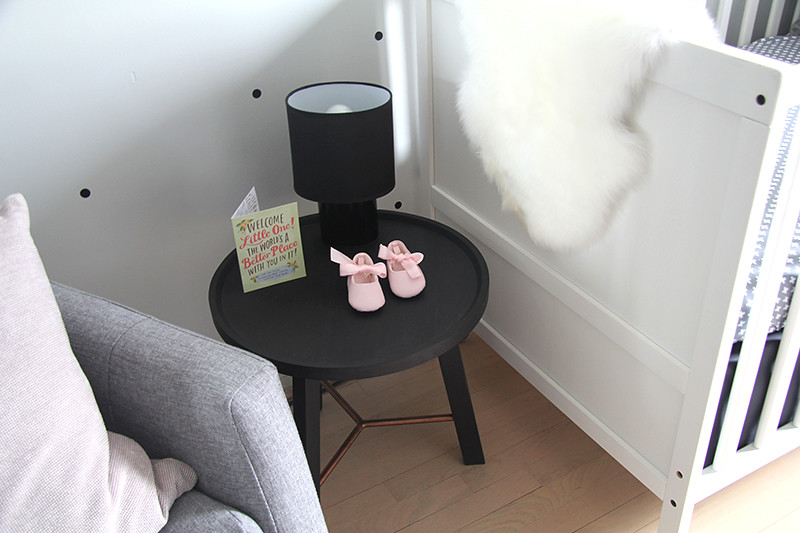
Her parents are special friends to us - they've shown so much love and care for my own little Heidi. I've always been so grateful for how much they've adored her, playing with her and caring for her, and even putting her to sleep a couple of times (and that is no easy feat!). I was soooo happy to hear that they were expecting – surely the two girls are going to be great friends! And so when it was time to prepare a gift for the baby girl, I knew I wanted to give her something extra special. I wanted to hand-make something to keep it personal and one-of-a-kind, but also make it practical while fitting the cool decor of the room. Then, I remembered a crib-sized quilt project I pinned a while ago – a pretty triangle quilt. It claimed that it would only take an hour - even with no experience in quilting!
How do you make a quilt in an hour? By the magic of an amazing website called Spoonflower. If you haven't heard of Spoonflower before, you are in for a treat. It's a genius idea - you can upload any design and they would print it on a variety of fabrics for you. I think that's a million-dollar idea, don't you? It's a game-changer for the sewing world, that's for sure. I think there are an endless amount of things you can do if you're able to design your own fabric!
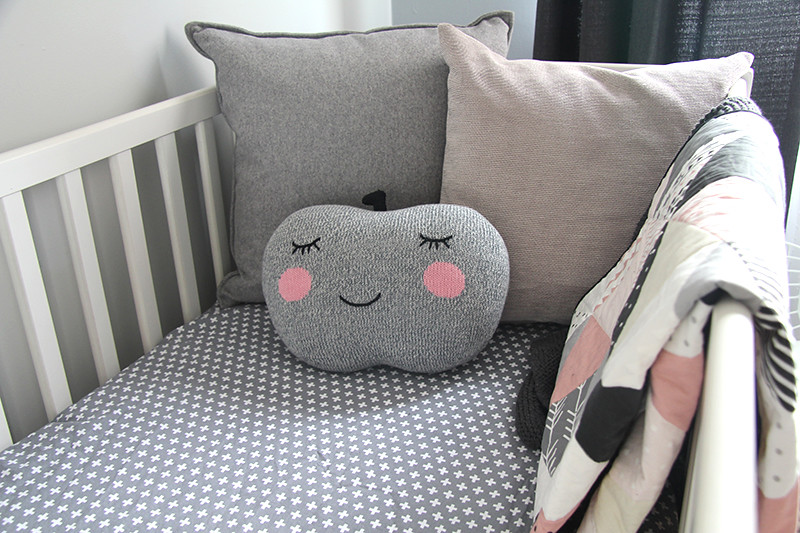

And so with the help of this wonderful company, I was able to design my very own quilt pattern with triangles. I took mental notes on the design theme of the nursery when I came for a visit and used it to design the fabric. "B&W cool with a touch of baby girl" was what I was going for! I used Adobe Illustrator to make the full-quilt sized design and uploaded it to their website. I have to say, their prices are quite reasonable for what they're offering and the quality is really great. The customer service is awesome too - I wasn't sure which fabric to pick for quilt and they responded with great choices and inspiration to go along with it. I chose the basic combed cotton, but you can try their Organic Cotton Knit, Satin, or even their Minky fabric. The other great thing about this website is that you can also chose designs from a library of other people's designs. There a ton of beautiful fabric designs and even other "cheater quilt" patterns as well.
Once the fabric comes in the mail, you're already halfway there. All it really takes is trimming, basting and sewing in straight lines. You'll also have to add a bias tape around the quilt. What I love most about this project is that it's a unique and thoughtful gift, but easy enough for beginners like me. And I know that there's only one like this one, just like their baby girl!

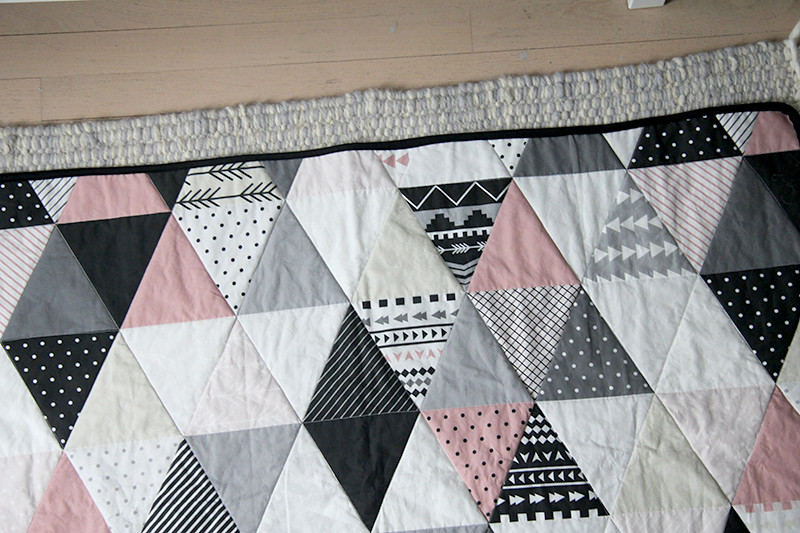
INSTRUCTIONS

You'll need:
• 1.5 yards triangle-design fabric (I used basic combed cotton from spoonflower)
• 1.5 yards backing material, quilting weight
• batting (I used baby crib sized quilt cotton batting)
• 2 packages 1/2″ double fold bias tape
• thread

1. Line up batting between the two fabric and trim to the size of batting. Try to line up the triangle fabric so that the edges of the triangles sits centred.
2. Pin the three pieces so that it doesn't move. You can use safety pins or even spray baste in a cinch.

3. Sew along the lines of the triangles. Finish one direction at a time. (Like this: \ / —)
4. Sew your bias tape along the edges of your quilt.

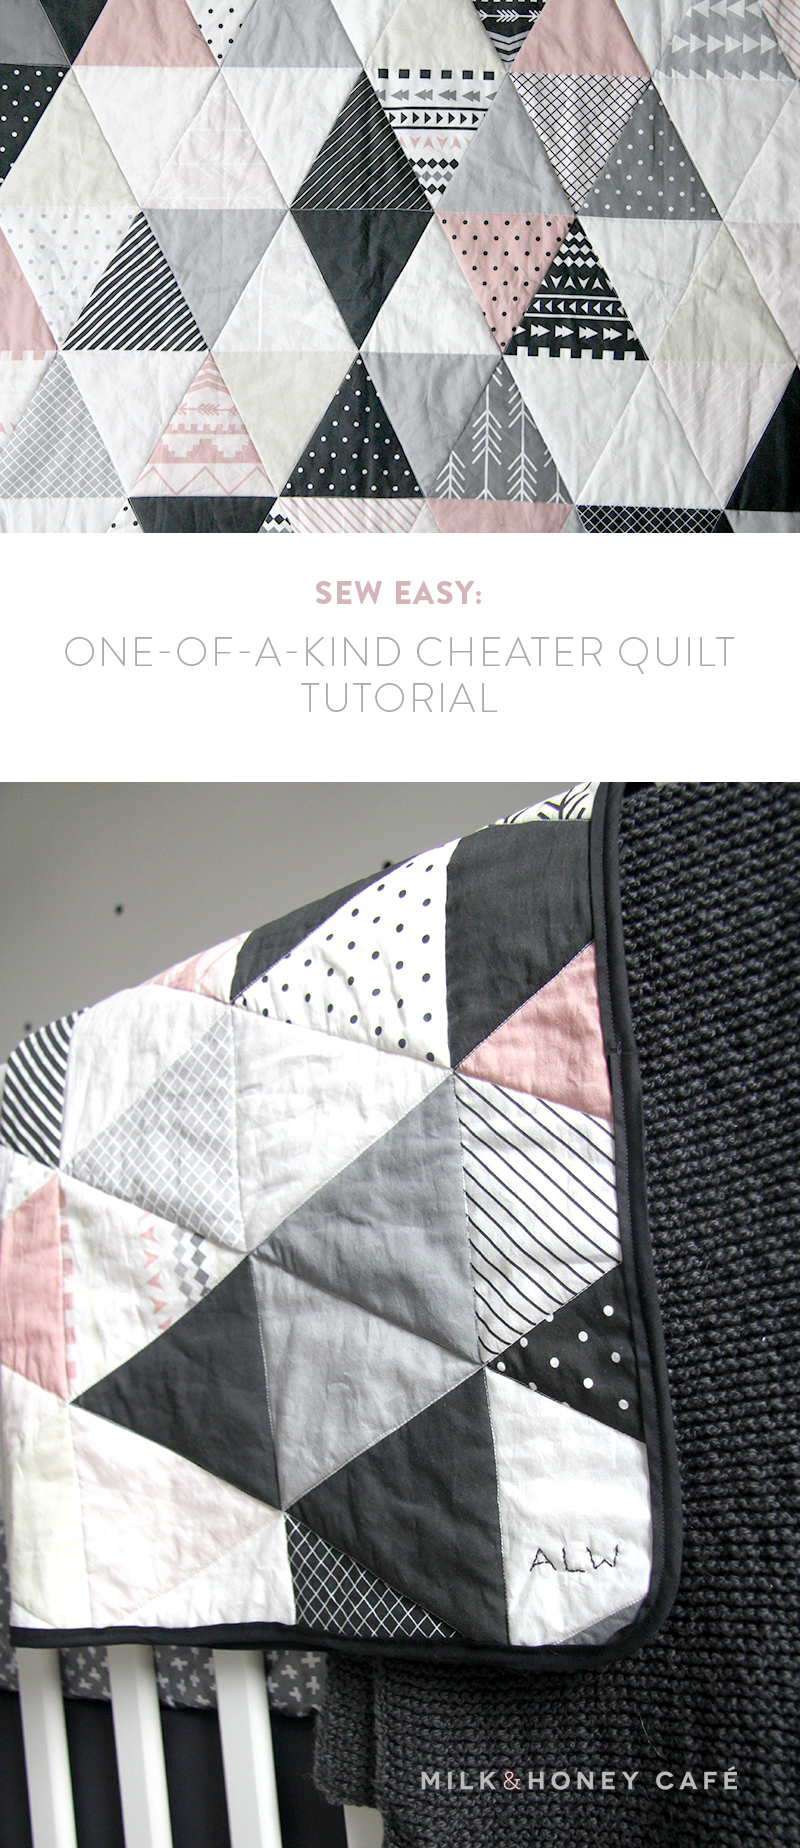
And you're done! Add any finishing touches you'd like. I decided to embroider the baby's initials. It was actually the first time I've ever done embroidery so I followed instructions from the internet and kept it super simple. It's still cute though, right?
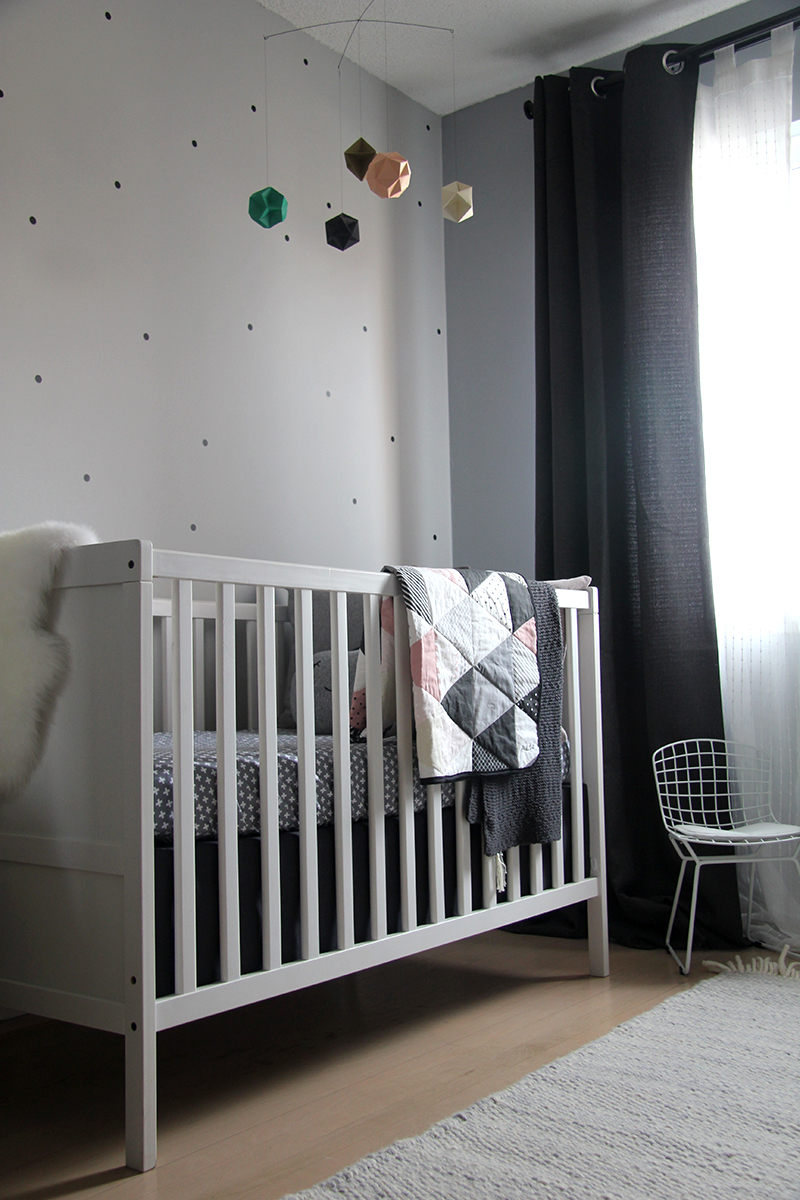

My friend is actually due this week, so here's a little message for you: I'm so so excited for you and cannot wait to meet your little girl! It's gonna be scary and crazy but it'll be all worth it once you hold her in your arms. I hope you make countless beautiful memories together in your beautiful nursery.







 Posts
Posts

