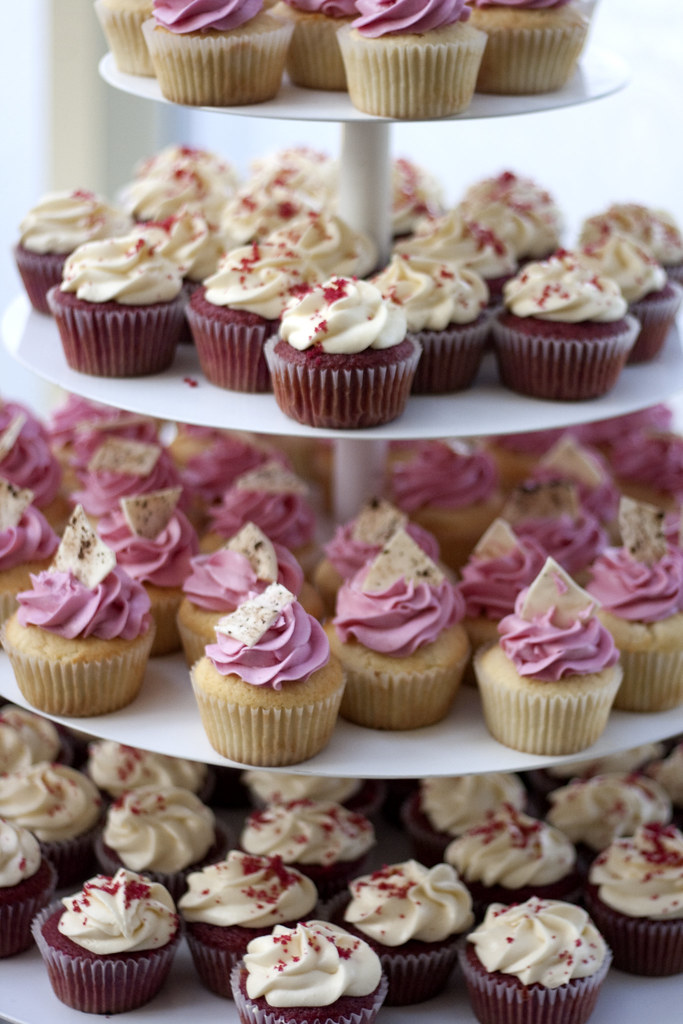
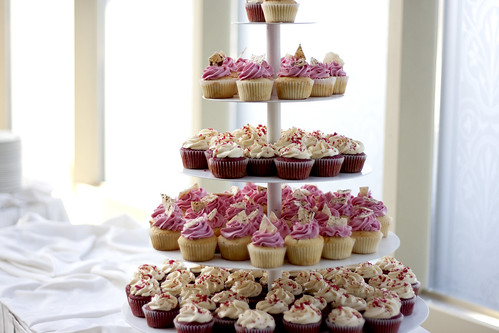
That's what my boss at work said when I showed her the pictures of last week's wedding order. And I really like that compliment. It ain't just about baking talent or piping skill, but it's about courage and the audacity to take on a huge project by little ol' me. And baking, decorating, delivering and setting up 200 cupcakes is a pretty huge project.
Of course as usual I had the help of the world's best helper (move over elves), aka world's best boyfriend (move over anyone!), aka my Andrew. I can't say thank you enough to him since he toiled over these cupcakes just as much as I did --rushing to the grocery store 3 separate times; transporting 20 boxes of cupcakes up and down stairs; washing endless dishes and mixing bowls; taking in my seriousness and moodiness time to time -- and all with a smile. What a keeper, huh? His mom was super duper generous enough to me let me use her kitchen too! Not only do they have a GORGEOUS kitchen with large counter tops and tons of space, they have two magical ovens that cut my baking time in two. Otherwise, I woulda been doing this for 16 hours. Am I the luckiest gal or what?
But don't be mistaken. This ain't all fun and games. It's tough work and by the 8th hour of standing, I'd be lying if I said I didn't have an inkling of regret. The pressure of trying not to ruin someone's beautiful wedding by having sub-par cupcakes is a killer that causes many panic attacks along the way. Timing and measurement is key, and with a bit of miscalculation or mistake, you're easily in big trouble. Ah, but there's always room for creativity and problem-solving that can prove that any predicament can become a piece of cake! You just gotta believe in yourself and keep going at it! It all takes a bit of courage, I guess. :)
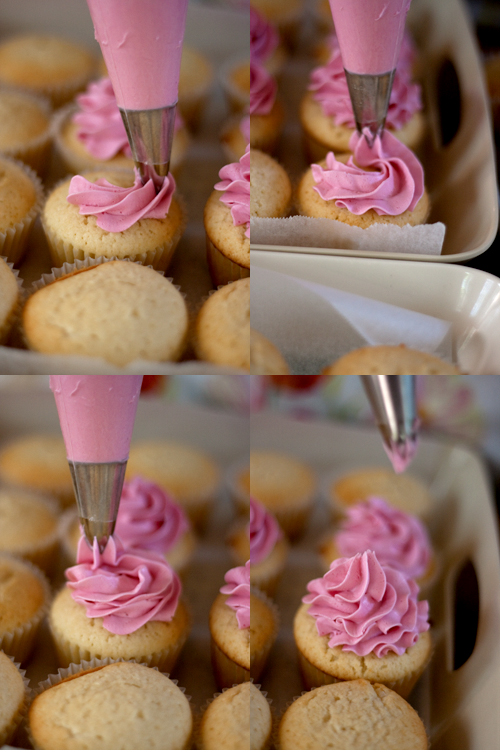
Anyways, I just thought that I'd include a little visual guide on how I frost my cupcakes, since a lot of you had some questions. It's quite simple, really, but I suppose a few photos might help you! I'll also tell you a few tips for easier operation.
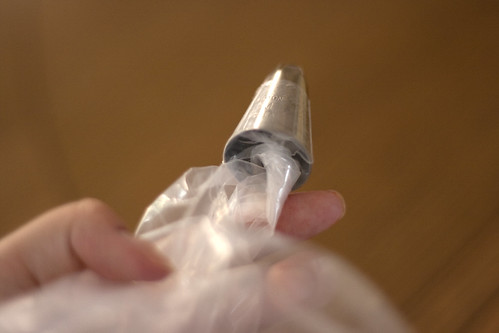 TIP #1:
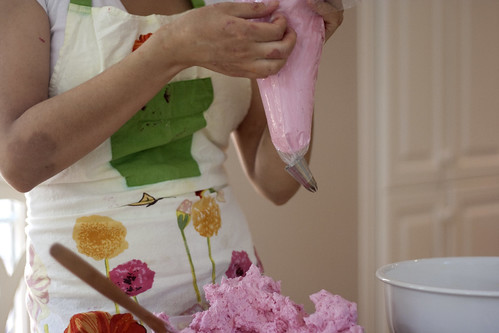
 When placing your piping tip into your piping bag, there's an easy way to make sure you're not spilling frosting all over yourself when you're filling it up. You twist the bag and then stuff it into the tip. When you're done filling, you can shake or push the bag down and the buttercream will fill it out.
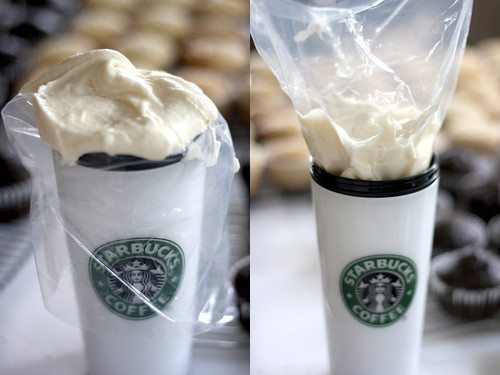 TIP #2:
 Another super easy way to fill up your bag is by placing the pastry bag into a tall cup or cylinder and folding half the bag over it. You simply fill it up with buttercream and tap it so that there's not air pockets. You then unroll the pastry bag and then twist the top so that it's ready to go!
 TIP #3:
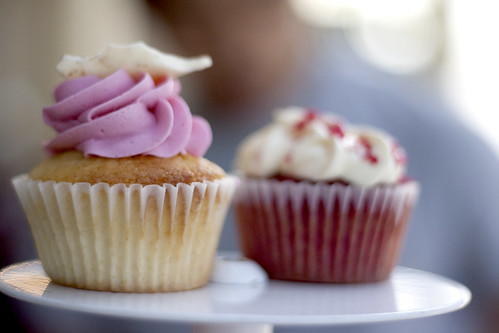
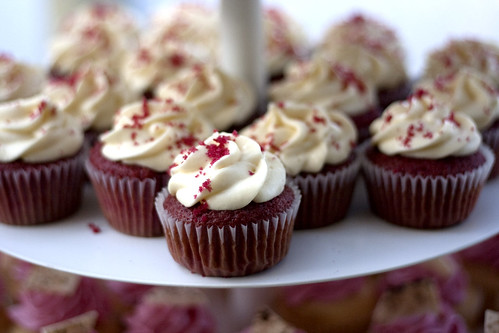
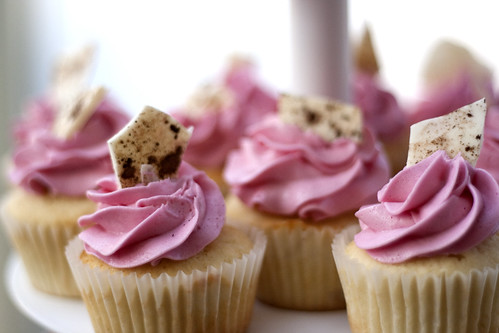
 Obviously, there are many ways you can do the swirl. This is my basic swirl that I love because it looks luxurious and almost soft-serve ice cream like. You apply pressure as you circle inwards, overlapping the previous layer. This way you make it nice and high. You can also do an easy rose-shaped swirl by circling inside out. Try using different tips shapes and sizes. My favorite ones are the Wilton 1M Star Tip and Ateco #855 Close Star Tip.
 TIP #4:
 The real key to a nice frosted top is the frosting itself. The consistency is crucial when piping-- it can't be too stiff or too runny. Runny frosting is the bane of my baking existence as it really is SO hard to deal with. While I got my Basic Buttercream down, cream cheese frosting is always a problem for me (I'm still so amateur, I can't even get my cream cheese right yet...) But if you can get a viscosity that is hard enough to hold itself yet soft enough to be pushed and moulded through a pastry bag, you've got it!
I guess that's it for today! If I come up with any better tips (I'm still learning as I'm going) I'll be sure to post them up too. As for the
recipes, the red velvet cupcakes can be found
here, and the vanilla cupcakes is
here!